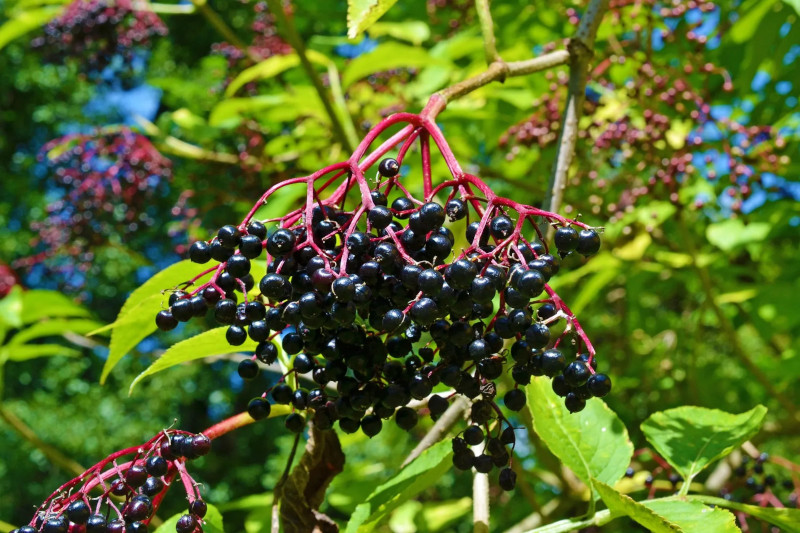
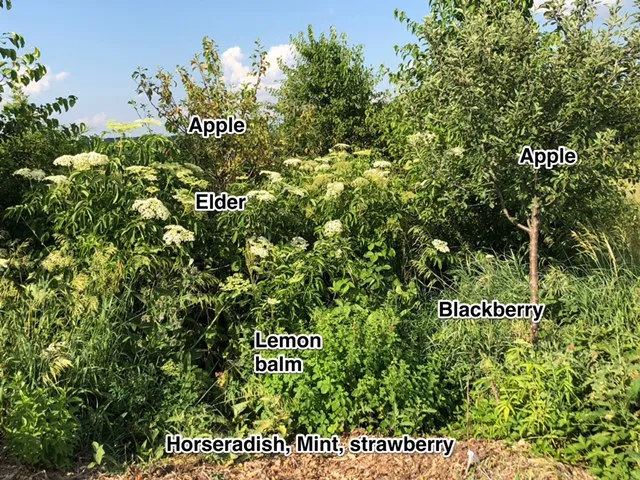
Cross posted from GrowNutTrees.com, your source for elderberry cuttings.

Step by Step to Propagate Elderberry
In this article I will show you several ways to grow elderberry from cuttings – starting in water, starting in a pot of soil, starting sideways in a bed of sand, or poking a stick straight into the ground. Let’s look at the different methods.
Start with the elderberry cuttings
Elderberry cuttings are usually taken in late Winter. If cut closer to Spring they may have mini green leaves starting to grow. Some people say that the best area of the plant to cut is the most recent year’s growth, near the end. But you can cut the hardier woody parts of the stem as well. My elderberry grows vigorously and outperforms the plants around it, so I have to cut it back significantly in the Winter. This is good because it allows me to plant cuttings all over the homestead, as well as sell some and share with others.
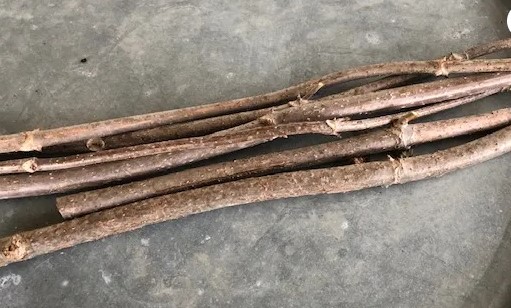
Your cutting should be long enough to have at least two leaf junctions. The leaf junction under the soil will sprout roots.
How to Make Natural Rooting Hormone
Rooting Hormone or Powder from the store usually has a chemical that works by making the plant “forget” that it is in the middle of the branch and will start rooting. If you prefer to be organic, then you may want to use a natural rooting method.
Many people use natural rooting methods that include dipping the elderberry cutting in:
- Honey
- Apple Cider Vinegar
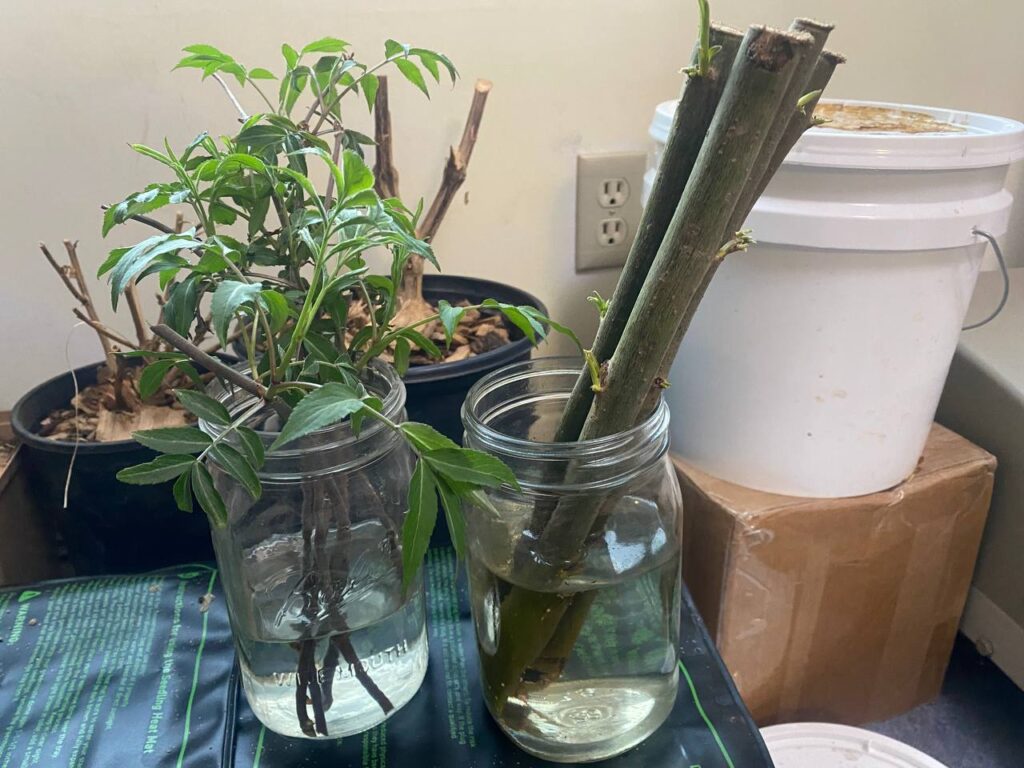
- DIY Willow Water – A Lesser Known Natural Rooting Hormone – I use willow water in the pictures below. The elderberry cuttings put into the water with willow cuttings sprouted much faster!
Starting Elderberry Cuttings in a Pot
- Soak the “root” end of the elderberry cutting in water overnight.
- Size of the pot – I either use a tree pot or a 1 gallon pot. I frequently get my pots for free at the local nursery “Free” recycle bin out front.
- Prepare the pot with soil. You should use a more loose potting soil.
- Some people lightly score the “root” end of the elderberry cutting with a knife before dipping in the rooting hormone. I do this for other cuttings but not usually for elderberry cuttings.
- Dip the “root” end of the elderberry cutting into the rooting hormone of your choice. Stick the cutting into the soil. Don’t push it all the way down to the bottom of the pot. Leave some room for the roots to grow.
- After a couple of months, transplant to a larger pot or plant in your garden outside.
If it is late Winter, you can start these inside on a heat mat, with light from a nearby window, or under grow lights. This will give you more of a head start and more root growth before transplanting outside.
Starting Elderberry Cuttings in Water
Or just put the elderberry cuttings in a jar of water. Use non-chlorinated or distilled water.
This has elderberry and sand willow cuttings in just a mason jar of water.
Grow Elderberry from Cuttings – Poke the Stick in the Ground
I have had many seasons of growing elderberry from cuttings. In Kansas, we do not have “April showers bring May flowers”. We have May and June thunderstorms and dry weather in between. The last few years we have had remarkably dry March and April months. It also can get hot very quickly in late May and early June. My transplanted elderberry plants withered in the late May sun.
The easiest method to grow elderberry from cuttings is to poke the “root” end of the elderberry stick in the ground. Then cover the base with mulch. This seems to work better than growing in a pot.
Pro: There is no transplant shock because it is growing right where you need it.
Con: If you live farther North and have late Winter freezes it may stop the growth. This can also happen if you get March warm weather, allowing the elderberry leaves to grow out, then you get a late hard frost.
The Elderberry Book: Forage, Cultivate, Prepare, Preserve by John Moody:

Grow Elderberry from Cuttings – Propagate in Sand
I have tried a new method this year – growing the elderberry cuttings in sand. This was originally a method learned from Plant Fanatics on YouTube, used for propagating figs from cuttings.
- Add sand to a plastic Tupperware-type container or bucket, one with a cover.
- Lay the elderberry cutting sideways in the sand and lightly press into the sand. Don’t cover it.
- Spray occasionally with a spray bottle of water to keep moist but not wet. Not too much or it will grow mold. I used distilled water to avoid the chlorine.
- Place on a heat mat near the light of window (doesn’t need direct light) or under a grow light.
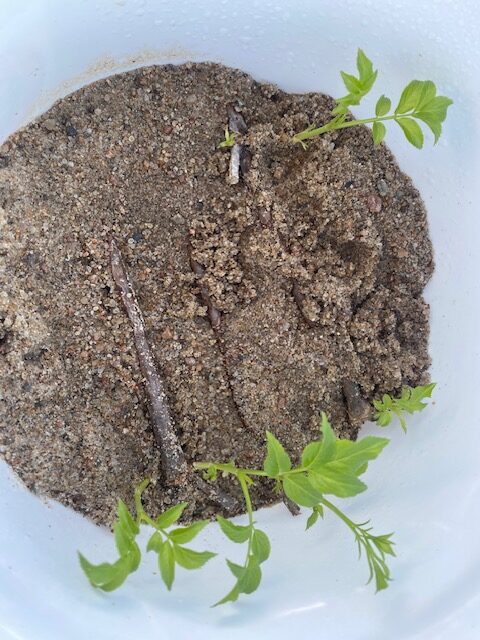
After awhile, roots will grow from the underside of each end, with sprouts growing up from the sand.
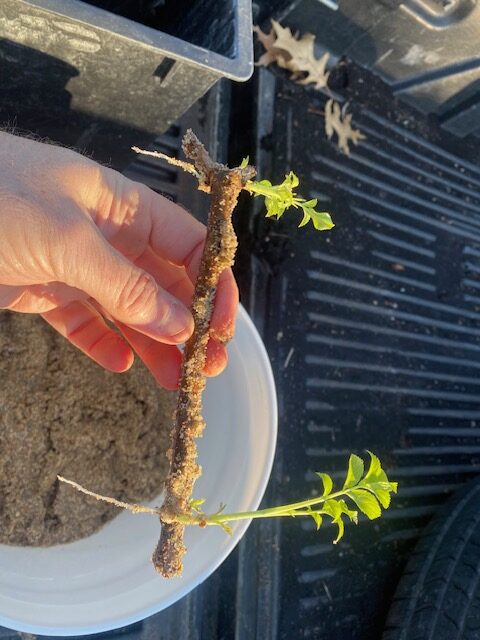
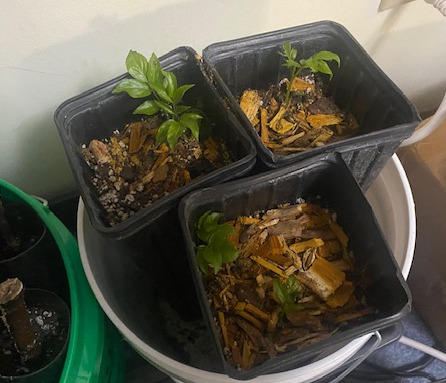
Transplant to pots when they get substantial enough.
Why to do this method?
If you are collecting cuttings earlier in the Winter, or you have a longer Winter, this allows you to have a longer head start on growing the elderberry. It may be better established and have a more successful transplant in the Spring.
Here is a video of the method, used on figs:
Here is a video of the method, used on figs:
Good luck with your elderberry cuttings!
And get your elderberry cuttings from GrowNutTrees.com.

If you like this content, check out Thriving the Future Podcast:

If you liked this content, you can learn much more in Will Horvath’s course.
Want to Create a Food Forest and Grow 3-5X More Food?
🔎- Check out Will Horvath’s Farm Design Course from Permaculture Apprentice:

This article and pictures are Copyright 2024 – Scott Miller.

